![DIY Pedicure at Home with Professional Results [7 Steps]](https://feetempire.online/wp-content/uploads/2023/10/BLOG-POST-TEMPLATE-Sweet-Emily-768x432.png "DIY Pedicure at Home with Professional Results [7 Steps]")
This post contains affiliate links where I may earn a commission at no cost to you.
A little pampering for your feet can go a long way, but for your wallet as well. That’s why so many women choose to do a DIY pedicure at home, to save money and keep their feet healthy.
However, if you don’t know how to do a DIY pedicure at home correctly, you may not get the professional results you expect.
So, whether you’re looking to get your pretty toes ready for a day at the beach in your favorite sandals or put them to work as a foot model selling feet pics without showing your face, this is how to do the perfect DIY pedicure at home with professional results.
Is It Better to Do Your Own Pedicure?
There are plenty of reasons to do a DIY pedicure at home on your own rather than going to a professional salon or nail tech.
More Hygienic
Doing your own pedicure at home is often more hygienic than going to a salon where hundreds of people filter through every day.
You have your own set of tools to use that are just for your feet.
There is a risk of getting a fungal, bacterial, or even viral infection if you go to a salon that doesn’t regularly sanitize its tools.
A DIY pedicure at home ensures your tools are cleaned and sanitized to your desire.
Cheaper
It is arguably much cheaper to do a DIY pedicure at home rather than go to a professional salon. A simple pedicure can cost you at least $35, plus tip!
However, when you commit to doing your own pedicures at home routinely, they can cost less than a dollar.
The only thing you have to pay for is the upfront costs of the tools and occasionally some nail polish when you run out or find new colors you like.
Saves Time
Just think about the time you spend calling a nail salon to book an appointment that works for both your calendar and the salon’s calendar. Then you have to travel to the salon, sit for an hour to get your pedicure, and then go back home.
Your time is precious!
A DIY pedicure can save you at least an hour of your time. Plus, you get to stay in the comfort of your home, sip on a glass of wine, and listen to the music or watch the show you’re currently raving about.
How to Give Yourself a DIY Pedicure at Home
There are just seven simple steps to give yourself a professional-grade pedicure at home. When you follow the steps below, you’ll surely be satisfied with how your toes turn out.
Plus, with practice, you’ll get even better and won’t be able to tell the difference between a salon-quality and DIY-quality pedicure.
Step 1: Remove Polish
The first step to giving yourself a DIY pedicure at home is to remove any nail polish you may already have on.
Simply take nail polish remover on a cotton ball and rub away the nail polish. I prefer using nail polish remover with acetone because it’s stronger.
If you have gel nail polish on your toes, you’ll want to file down the top coat and soak them in pure acetone nail polish remover for 15 minutes.
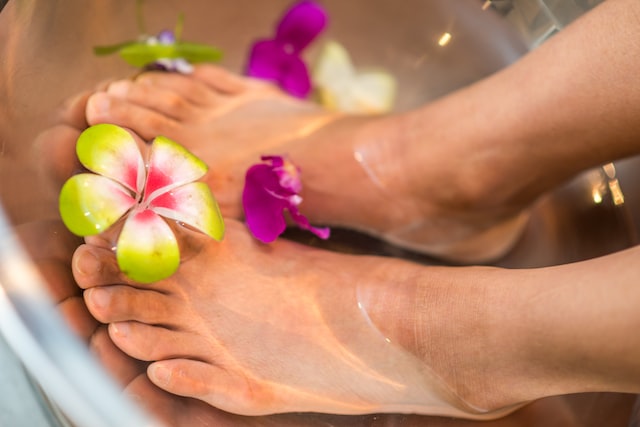
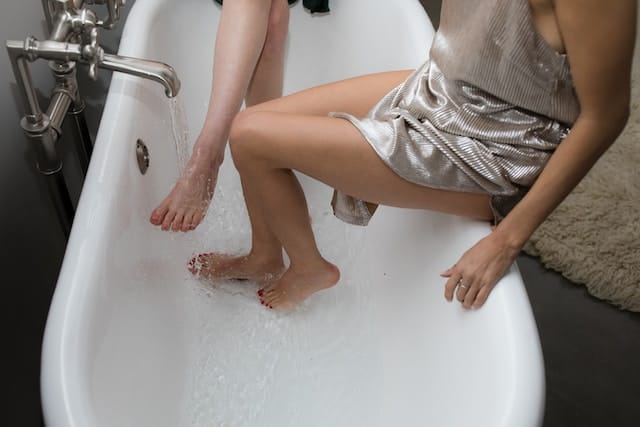
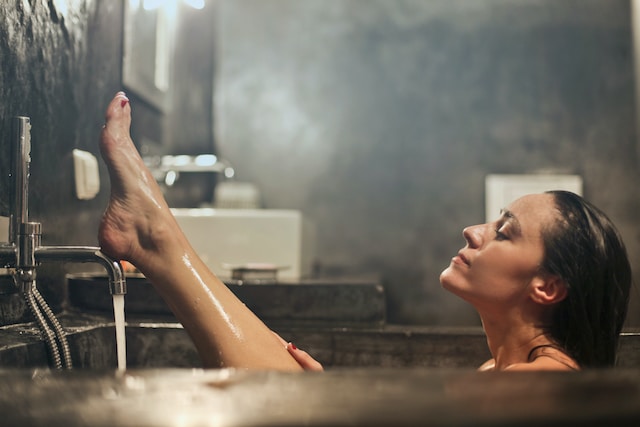
Step 2: Soak Feet
Now comes the most relaxing part of your at-home pedicure: the foot soak.
You can get professional and fancy with an electric foot bath with lights and jets, or you can simply use your bathtub filled with warm water.
A nice foot spa can give you a foot massage and pamper your feet, just as if you were at a professional salon.
To get even more from your foot bath, add some foot soak salts, like Epsom salt, to relieve tension, relax muscles, and rejuvenate your tired feet.
Step 3: Exfoliate
After ten to fifteen minutes of soaking your feet, empty your foot bath and dry them. It’s time to exfoliate and remove any dead skin, especially hard calluses or corns.
For this, you can use a pumice stone, stainless steel file, or electric foot file to remove rough calluses and dead skin.
You can also use an exfoliating foot scrub to remove dead skin on the surface. This will leave behind nice, smooth skin.
Read Next: Best Dead Skin Remover for Feet: 8 Methods for Smoother Feet
You can also use an exfoliating foot peel once in a while. But it is better to use just two or three times a year.
Step 4: Trim Nails and Cut Cuticles
The next step is to trim your toenails and cut any overgrown cuticles. Now that your nails and cuticles are soft from your foot soak, it should be nice and easy to do.
Before using your pedicure tools to cut your cuticles, it’s a good idea to hydrate them once more with cuticle oil. Let it rest for a couple of minutes before cutting them away.
I prefer to use this cuticle oil pen because it’s super easy and doesn’t leave a mess or dripping oil.
To trim your toenails, you can either use a nail file or nail clippers – the choice is yours!
Step 5: Moisturize
The key to keeping your feet beautiful when you give yourself a DIY pedicure at home is moisturizing with a good foot cream.
Not only should you do this after exfoliating and soaking your feet during an at-home pedicure, but every evening before you go to bed.
You can also do a foot mask once in a while for ultimate hydration and smooth skin.
Read Next: Best Foot Cream for Picture-Perfect Feet
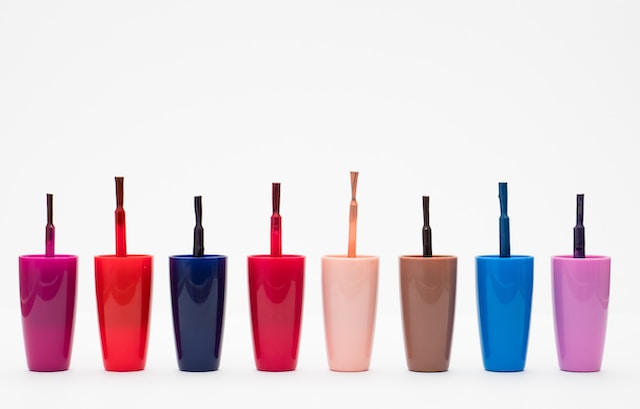
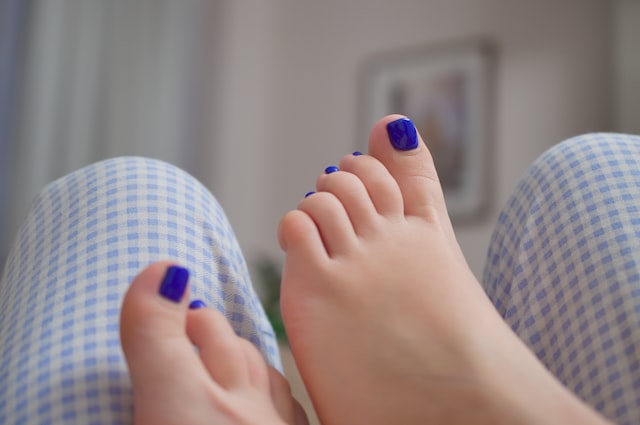
Step 6: Add Nail Polish
Now that your feet are prepped, you can make them beautiful with the nail polish color of your choosing.
Before painting your nails, grab some toe separators to keep from smudging your polish when it’s wet.
First, put a clear base coat. This nail base coat will protect the natural nail from getting stained by the colored nail polish.
Next, it’s time to paint a couple of coats of your desired nail polish. Be careful not to get it on your skin. Sally Hansen and OPI are some of my favorite brands of nail polish to use.
If you’re feeling really creative, add some nail art to your toes to really make them stand out.
Lastly, it’s time to make your nail polish shine with a top coat. This will protect your nail polish from chipping and make it extra shiny when it dries.
Step 7: Wait to Dry
The last step in your easy DIY pedicure at home is to wait for the nail polish to dry.
I recommend waiting at least 20 minutes from the time you finish putting the top coat on. This will ensure you don’t smudge your fresh nail polish.
What Tools Do You Need for a DIY Pedicure at Home?
Now that you know the exact steps for how to give yourself a pedicure at home, it’s time to build your at-home pedicure kit with all the tools you’ll need.
Below is a list of my favorite tools you’ll need when doing a DIY pedicure at home that will give you professional results.
- Nail polish remover
- Foot bath
- Foot soak salts
- Pumice stone
- Stainless steel foot file
- Electric foot file
- Foot scrub
- Cuticle clippers
- Cuticle pusher
- Base coat
- Nail polish
- Top coat
With all of these tools, you’ll have everything you need for a professional salon-quality pedicure right at home!

Put Your Pedicure to Work
All that hard work doing your DIY pedicure at home should pay off in some way other than compliments from your loved ones, right?
Well, luckily, we live in a world where people are willing to pay good money for pictures and videos of your perfectly pedicured piggies!
And the good news is that you don’t even have to show your face while doing it.
I’ve built an entire side hustle selling feet content, and part of it is thanks to learning how to do DIY pedicures at home and taking my foot care routine seriously.
If you’re curious about how you can earn an extra $500 per month from home by taking photos of your toes, join my newsletter and get a free copy of my ebook, The Feet Pic Bible, to learn more about this creative and lucrative industry.